Gail hand cuts and layers paper, often to photographic effect. She currently resides in State College, PA.
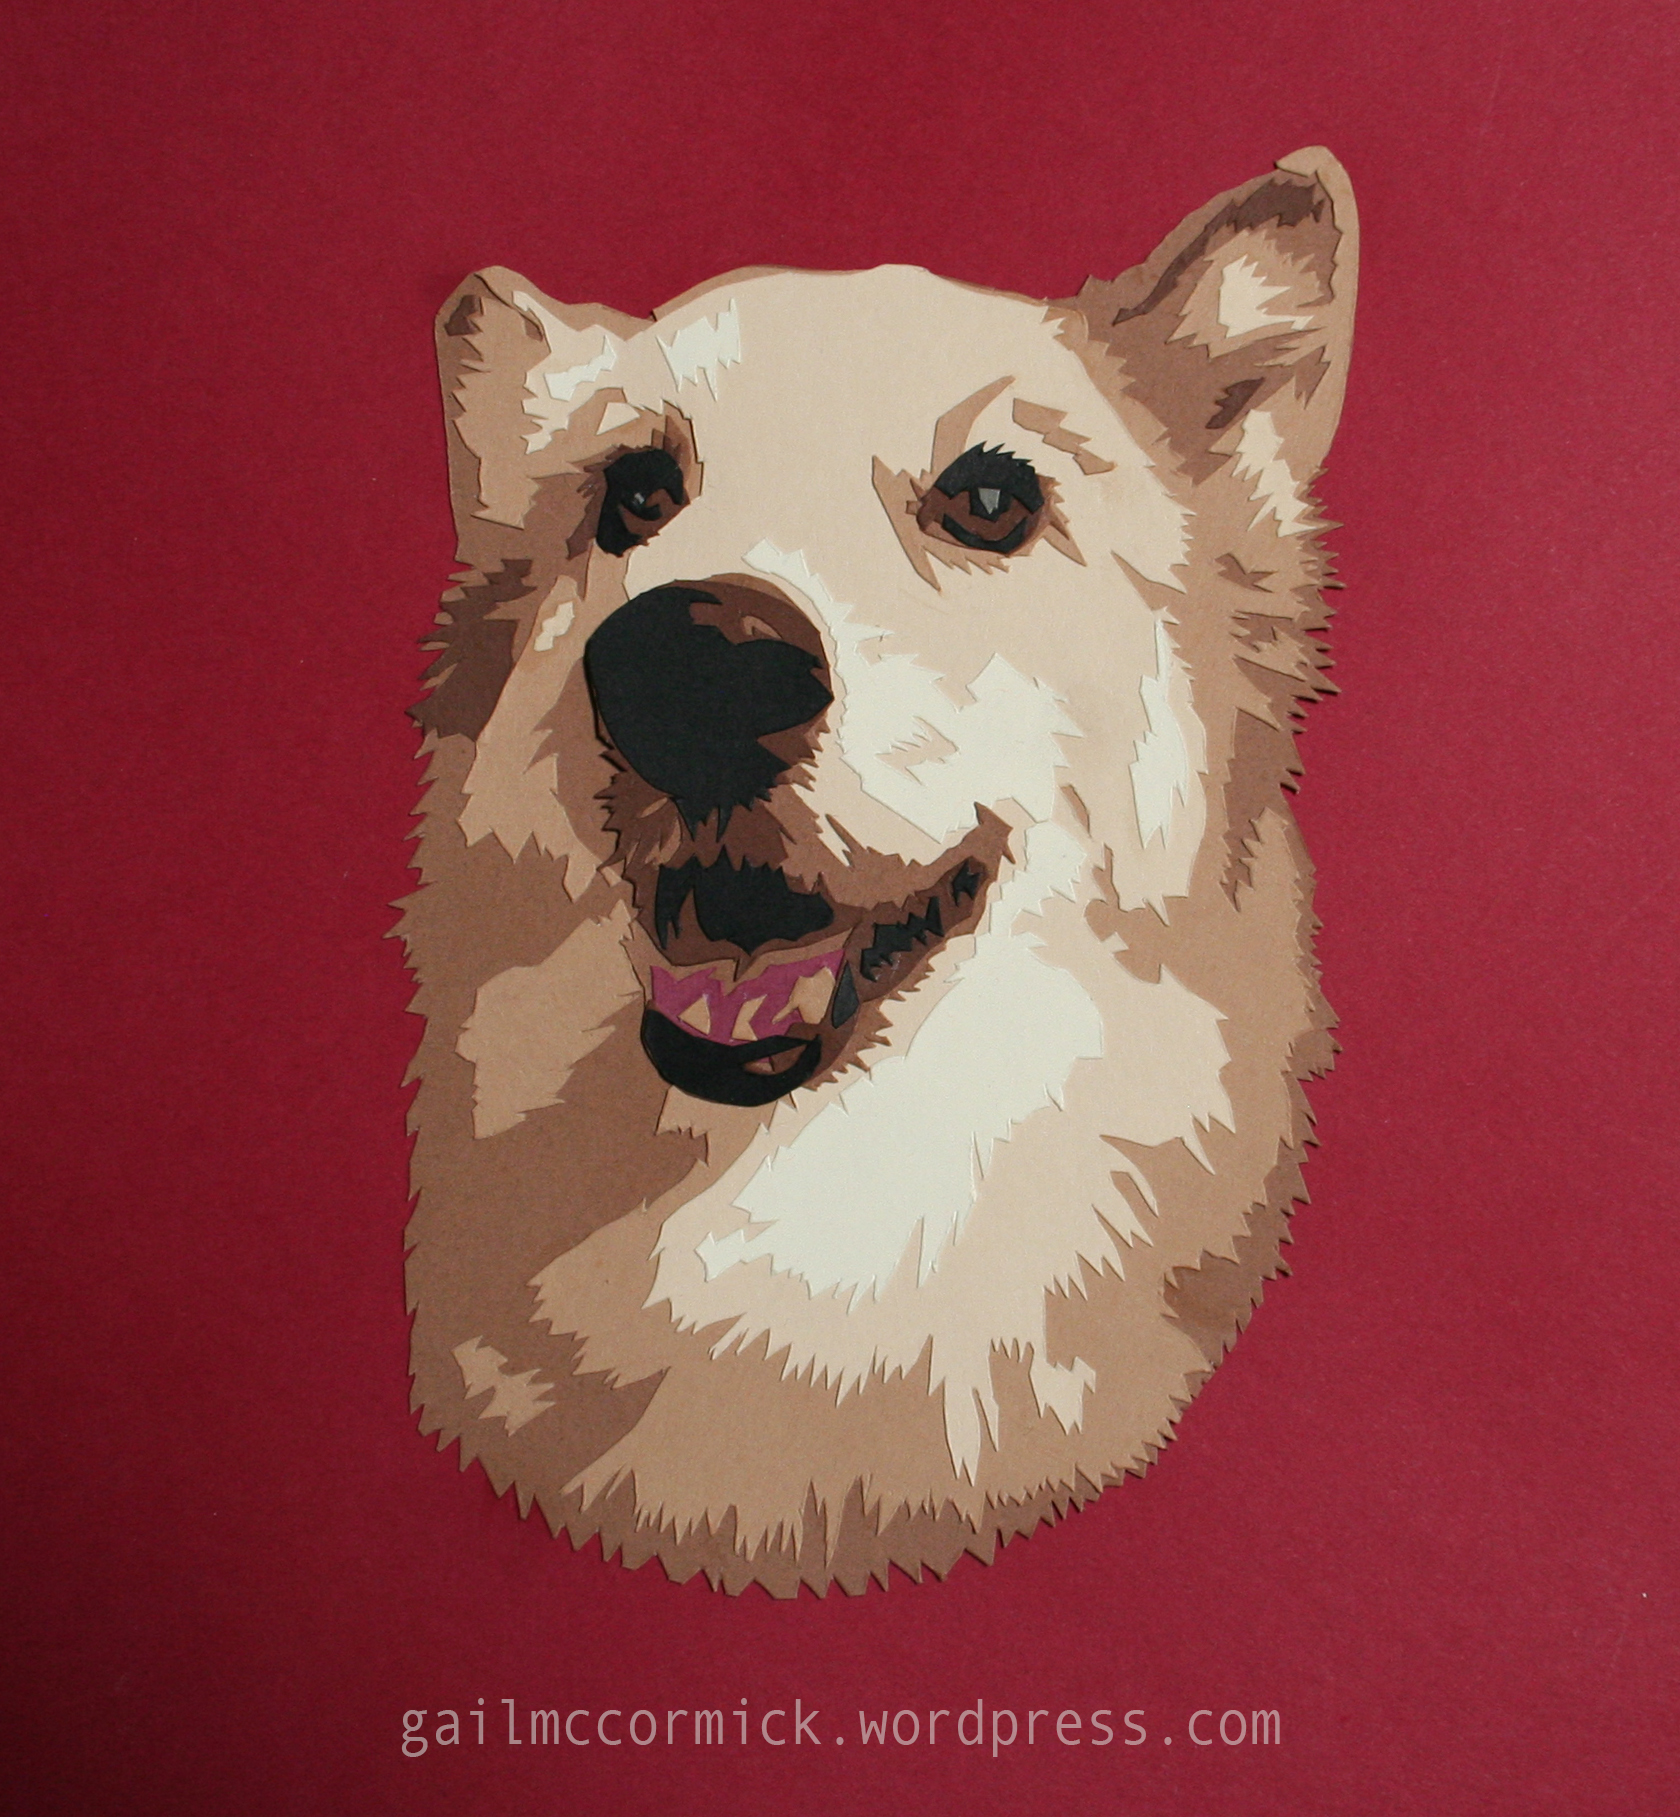
Pets
Paper cuttings based on photographs from our favorite four-legged friends. For more examples of Gail’s work, visit the animals gallery here.


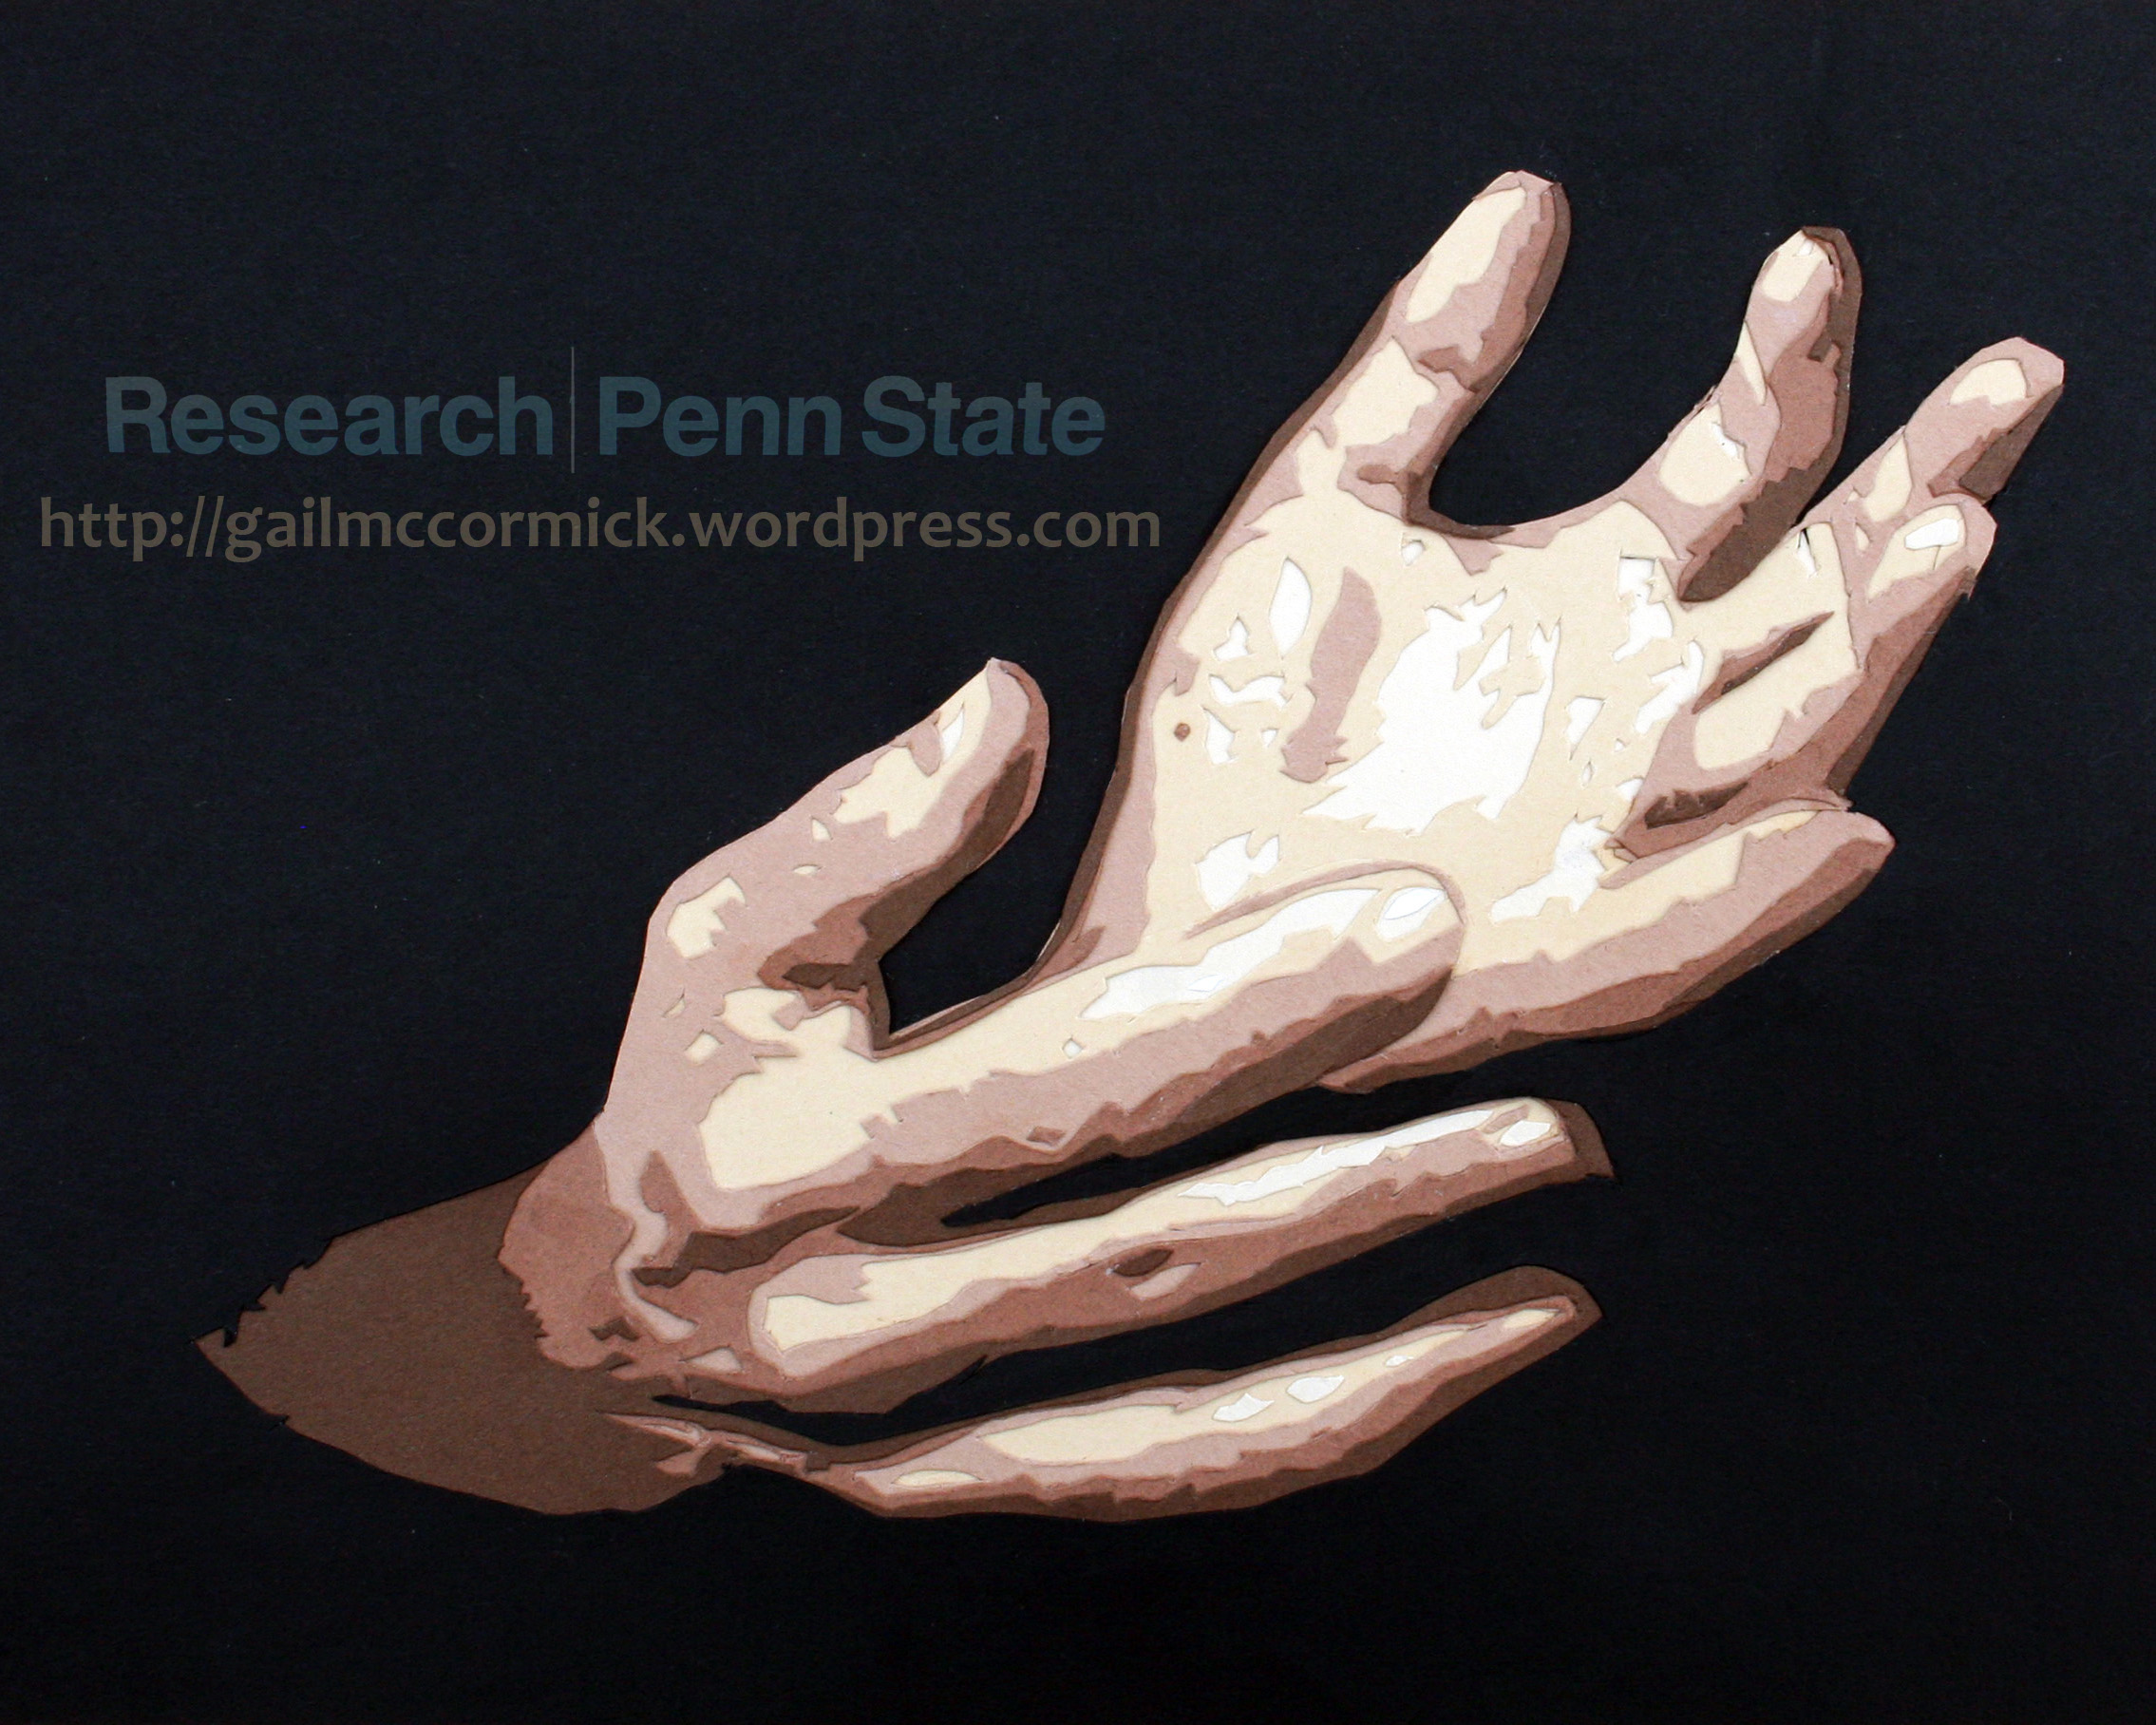
People
The human body can be so inspiring. These paper cuts are based on photographs. For more examples of Gail’s work, visit the people gallery here.


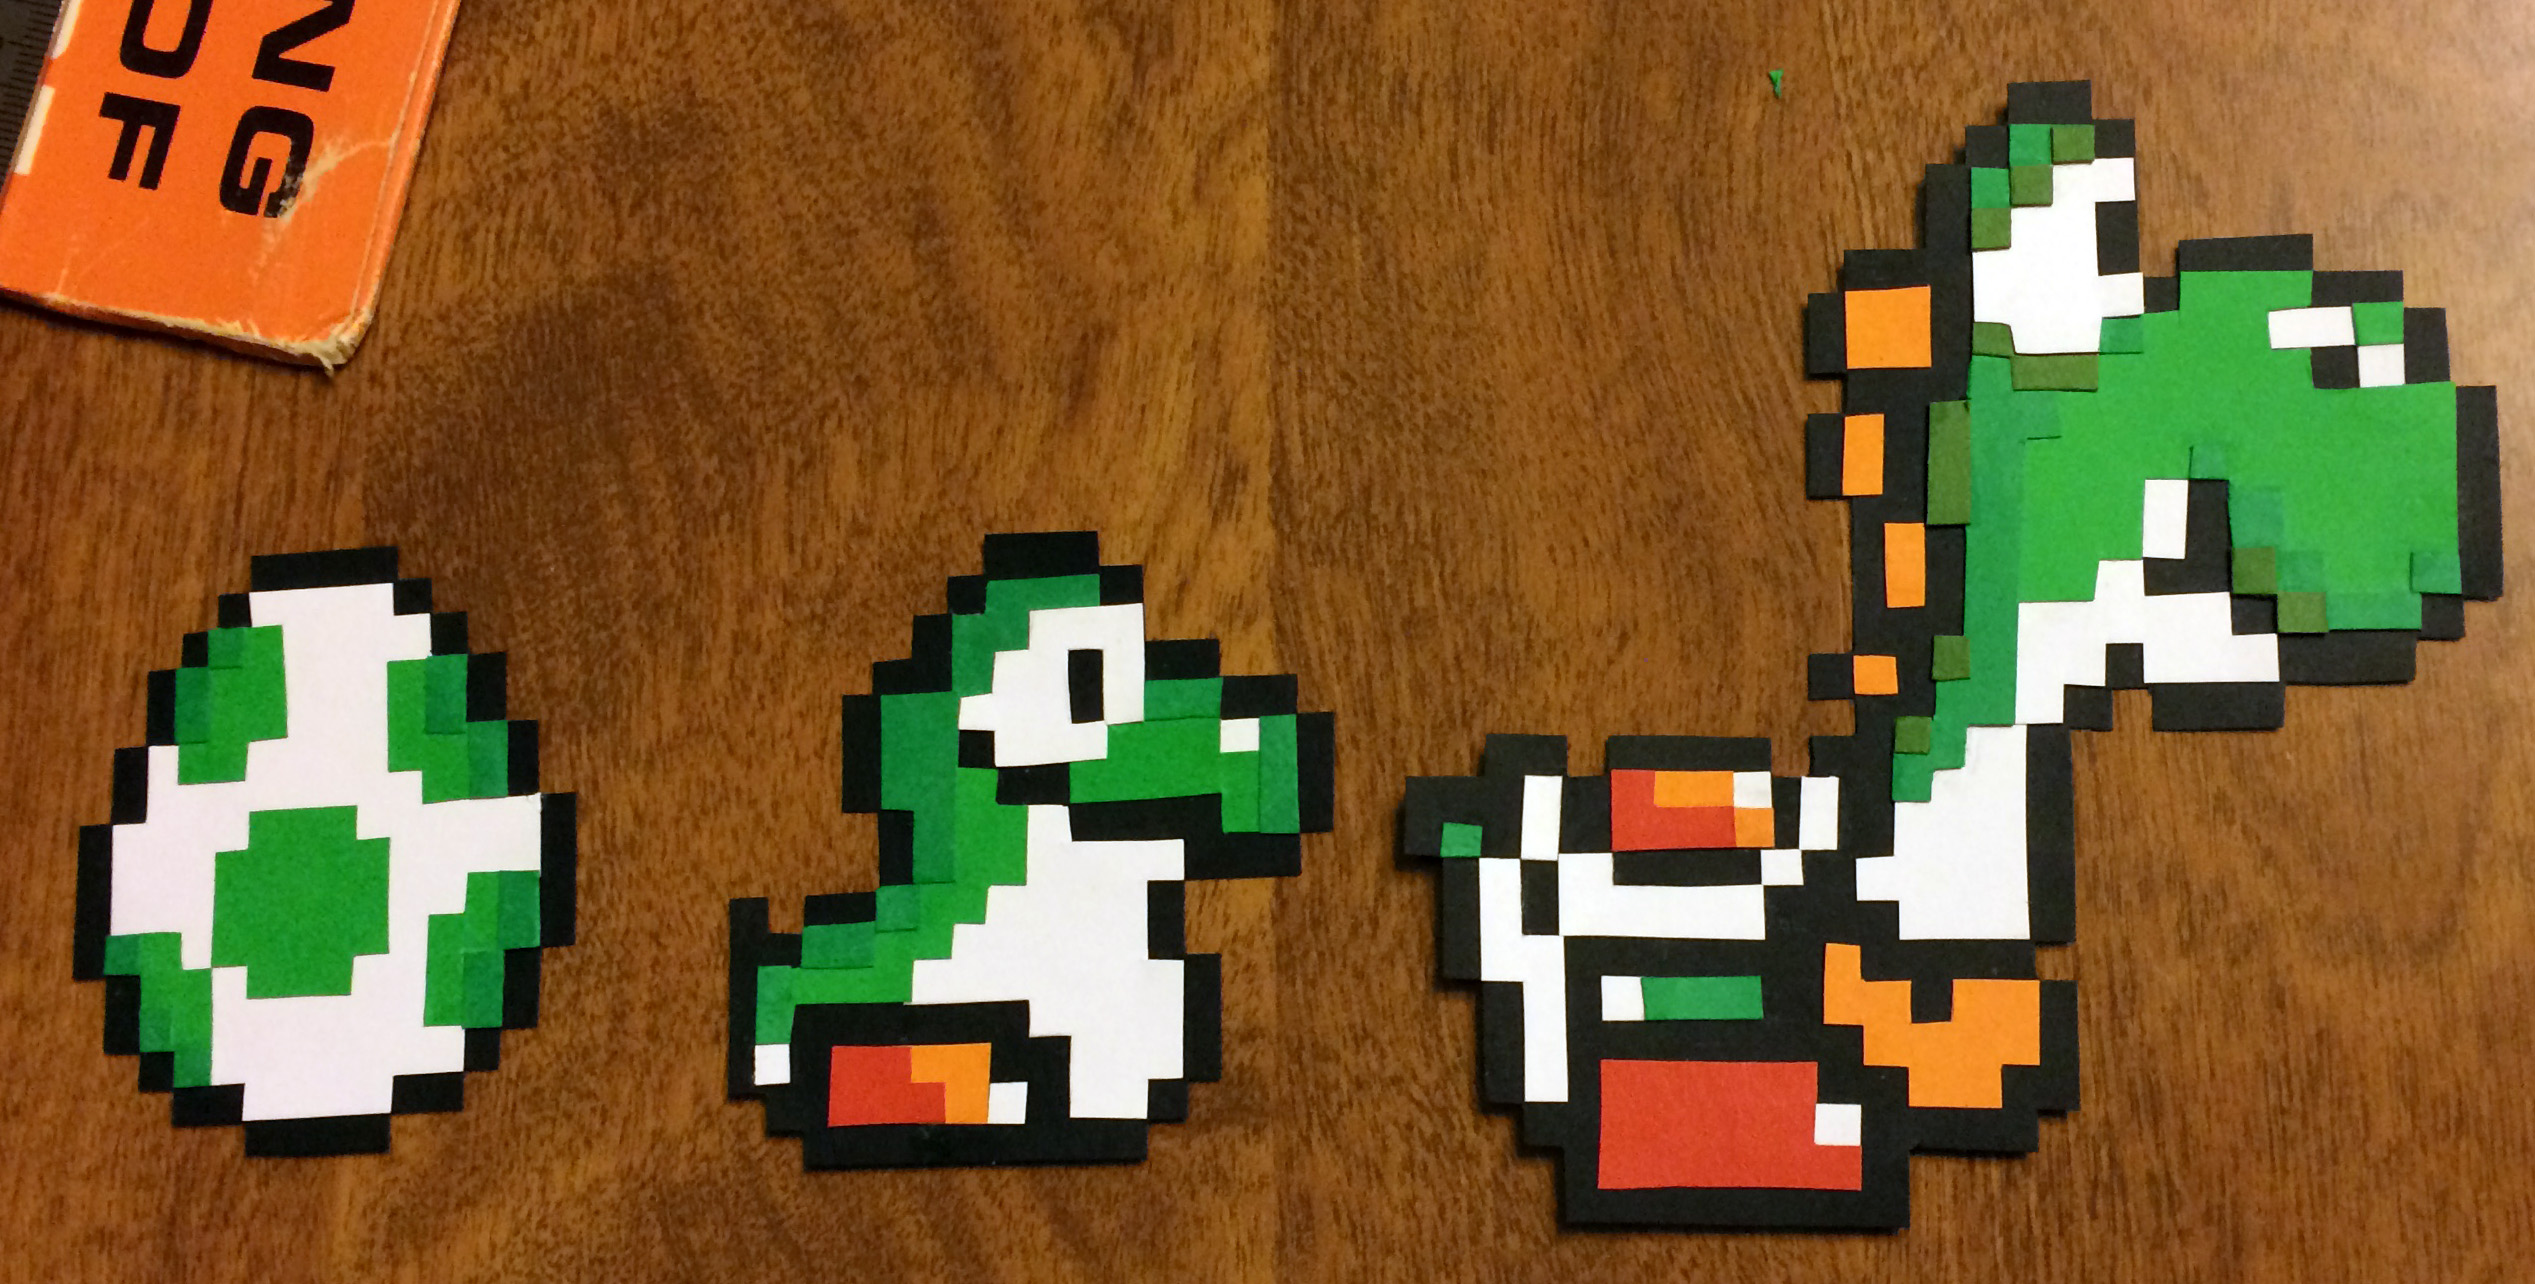
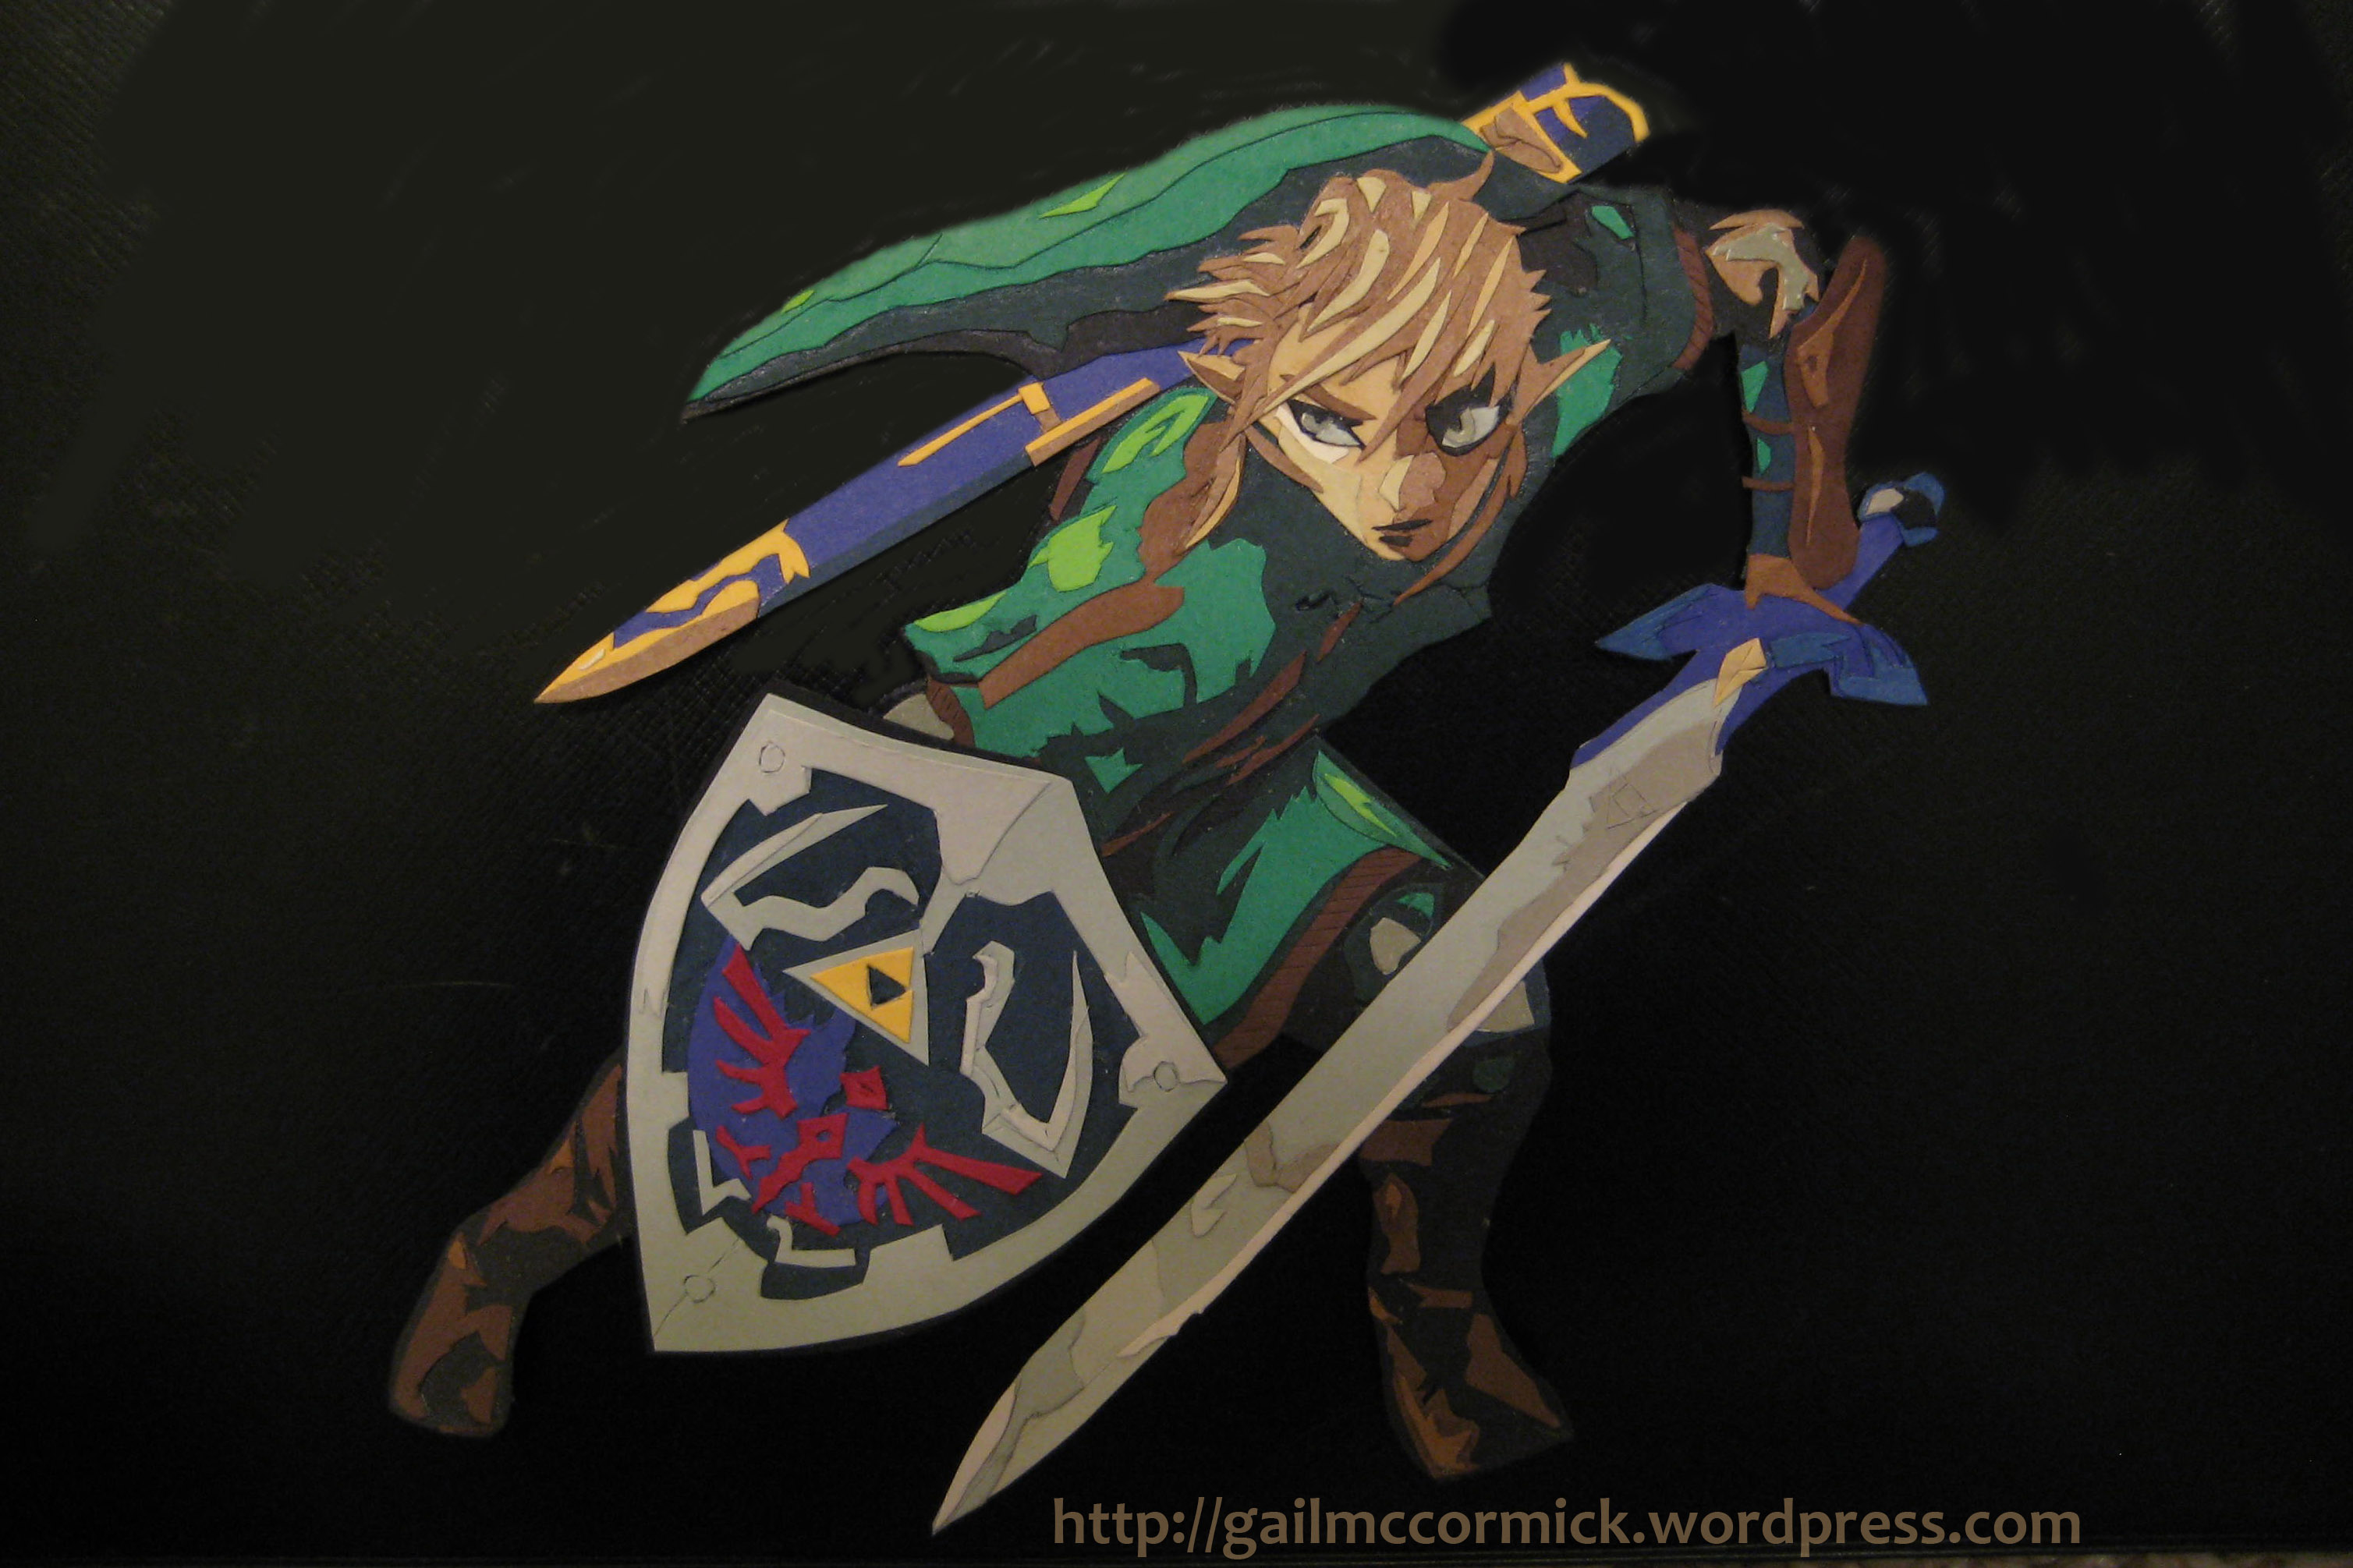
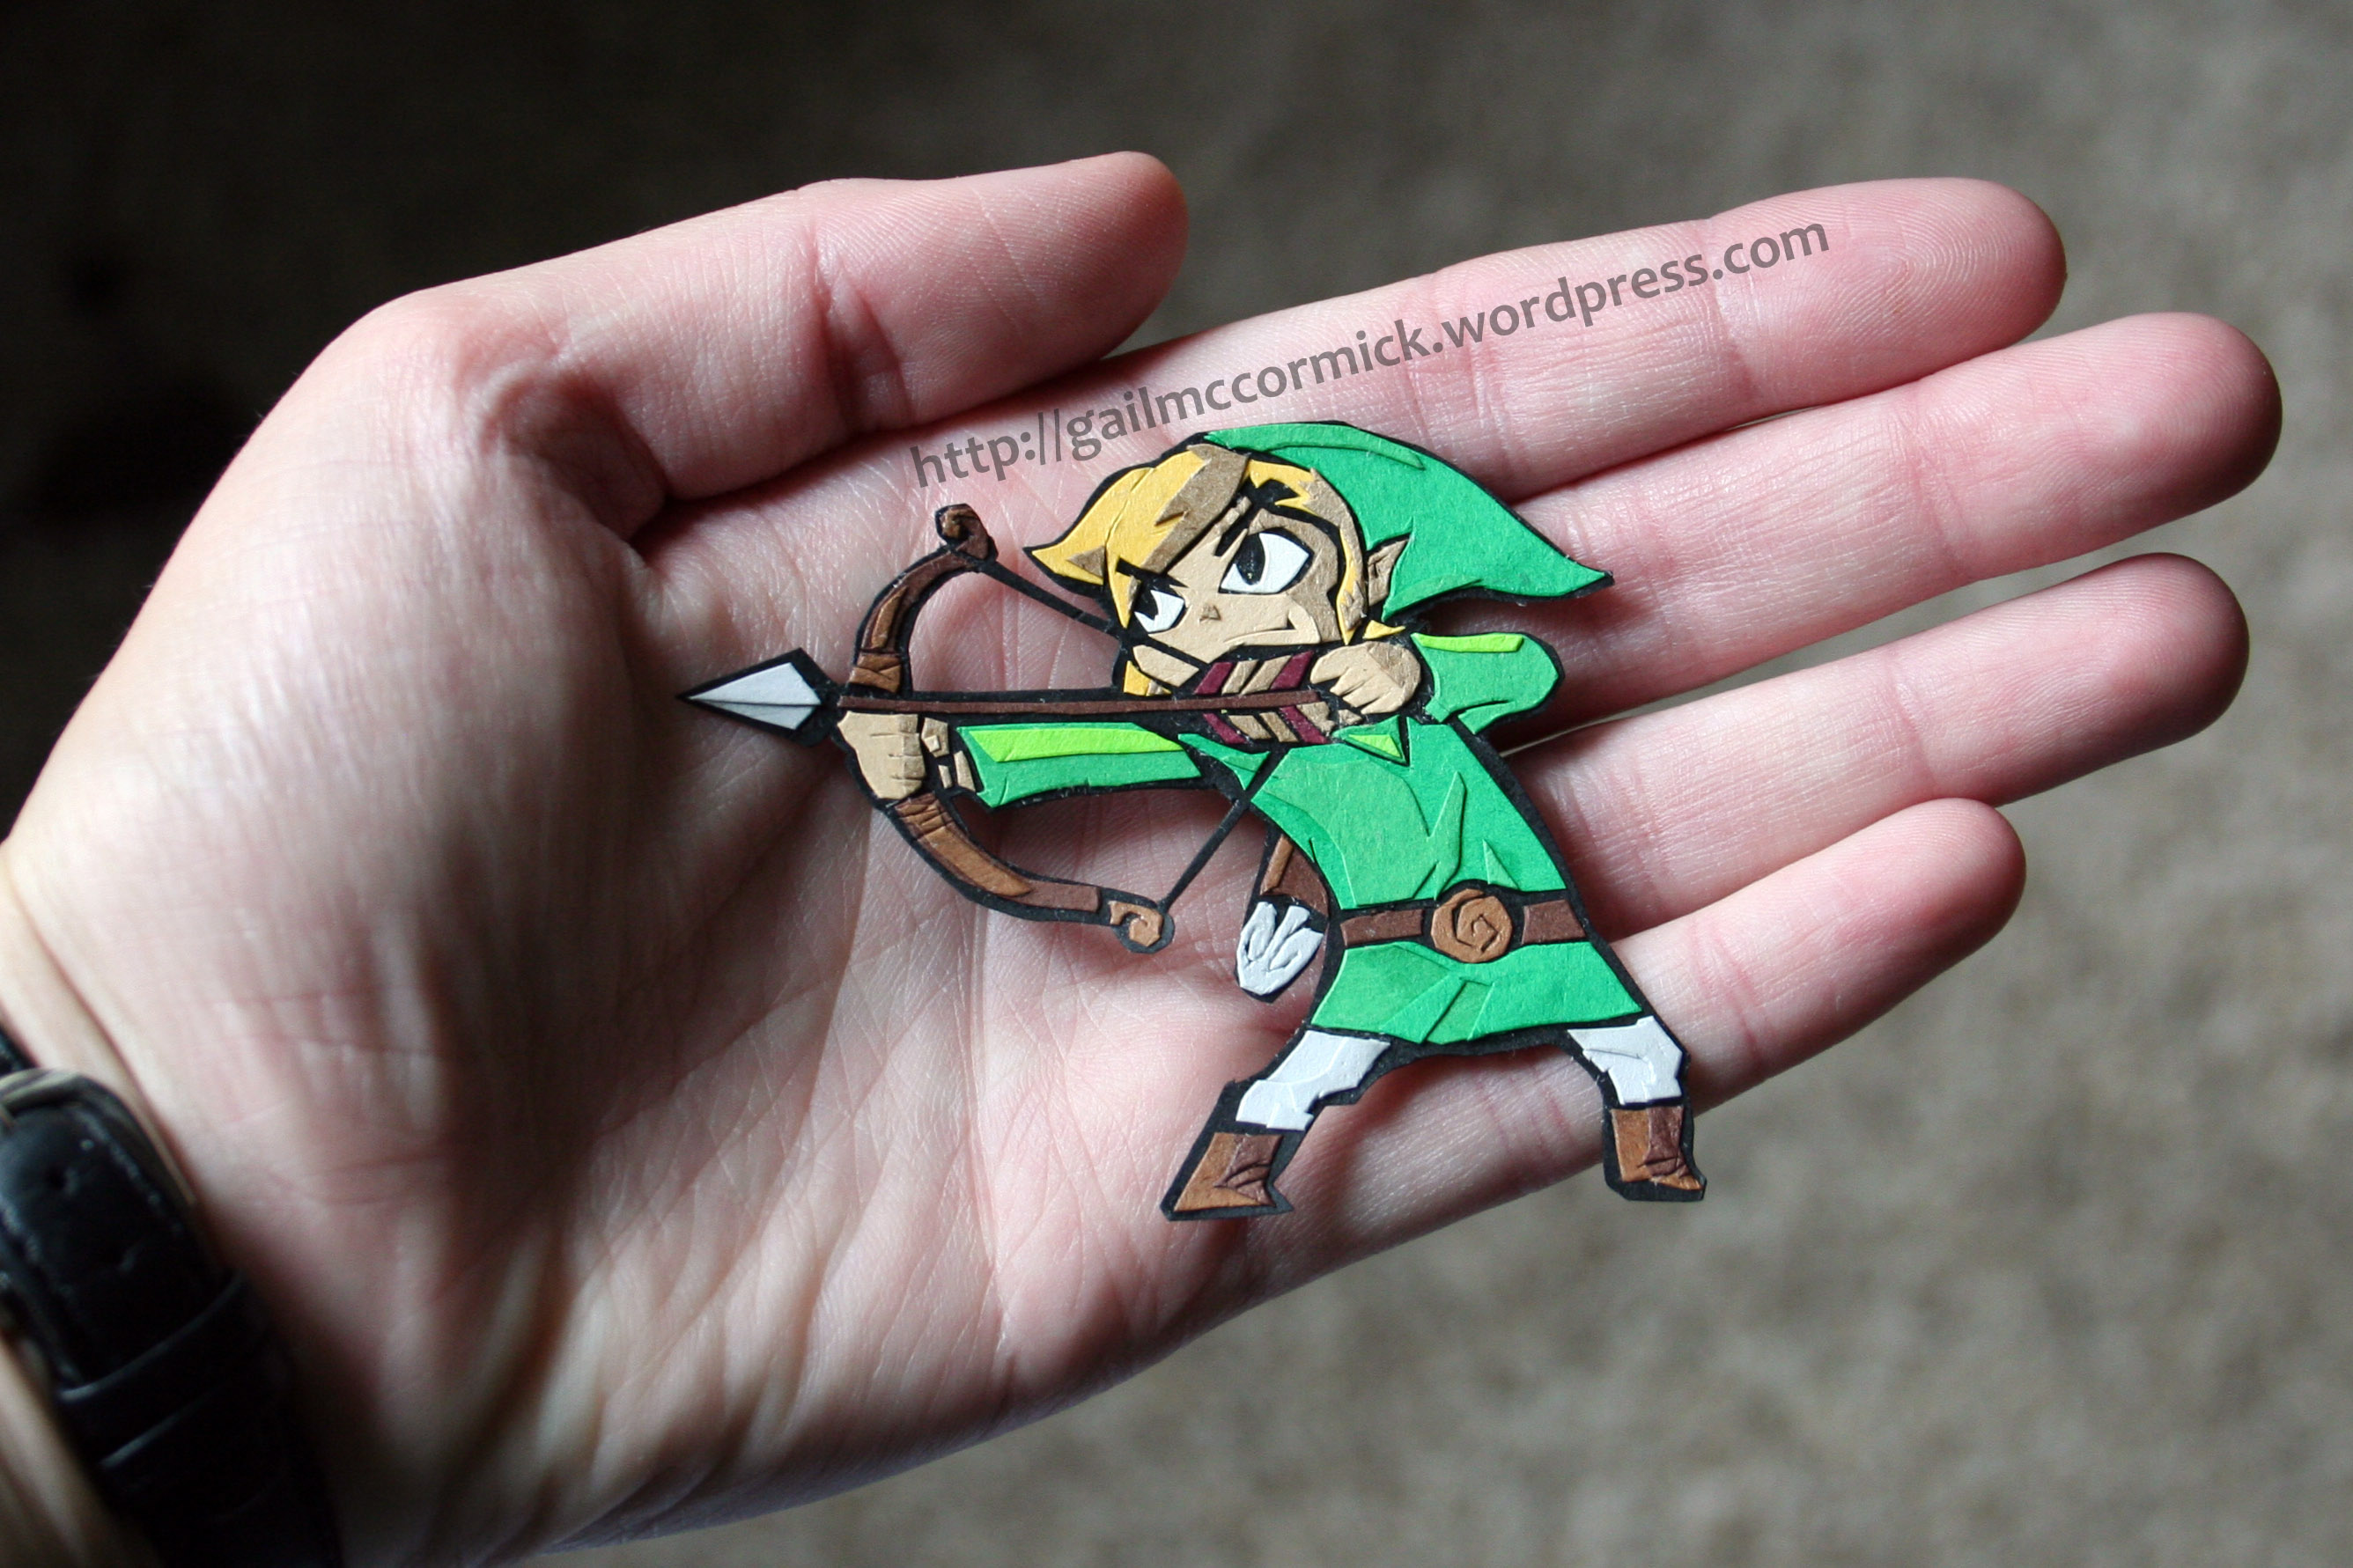
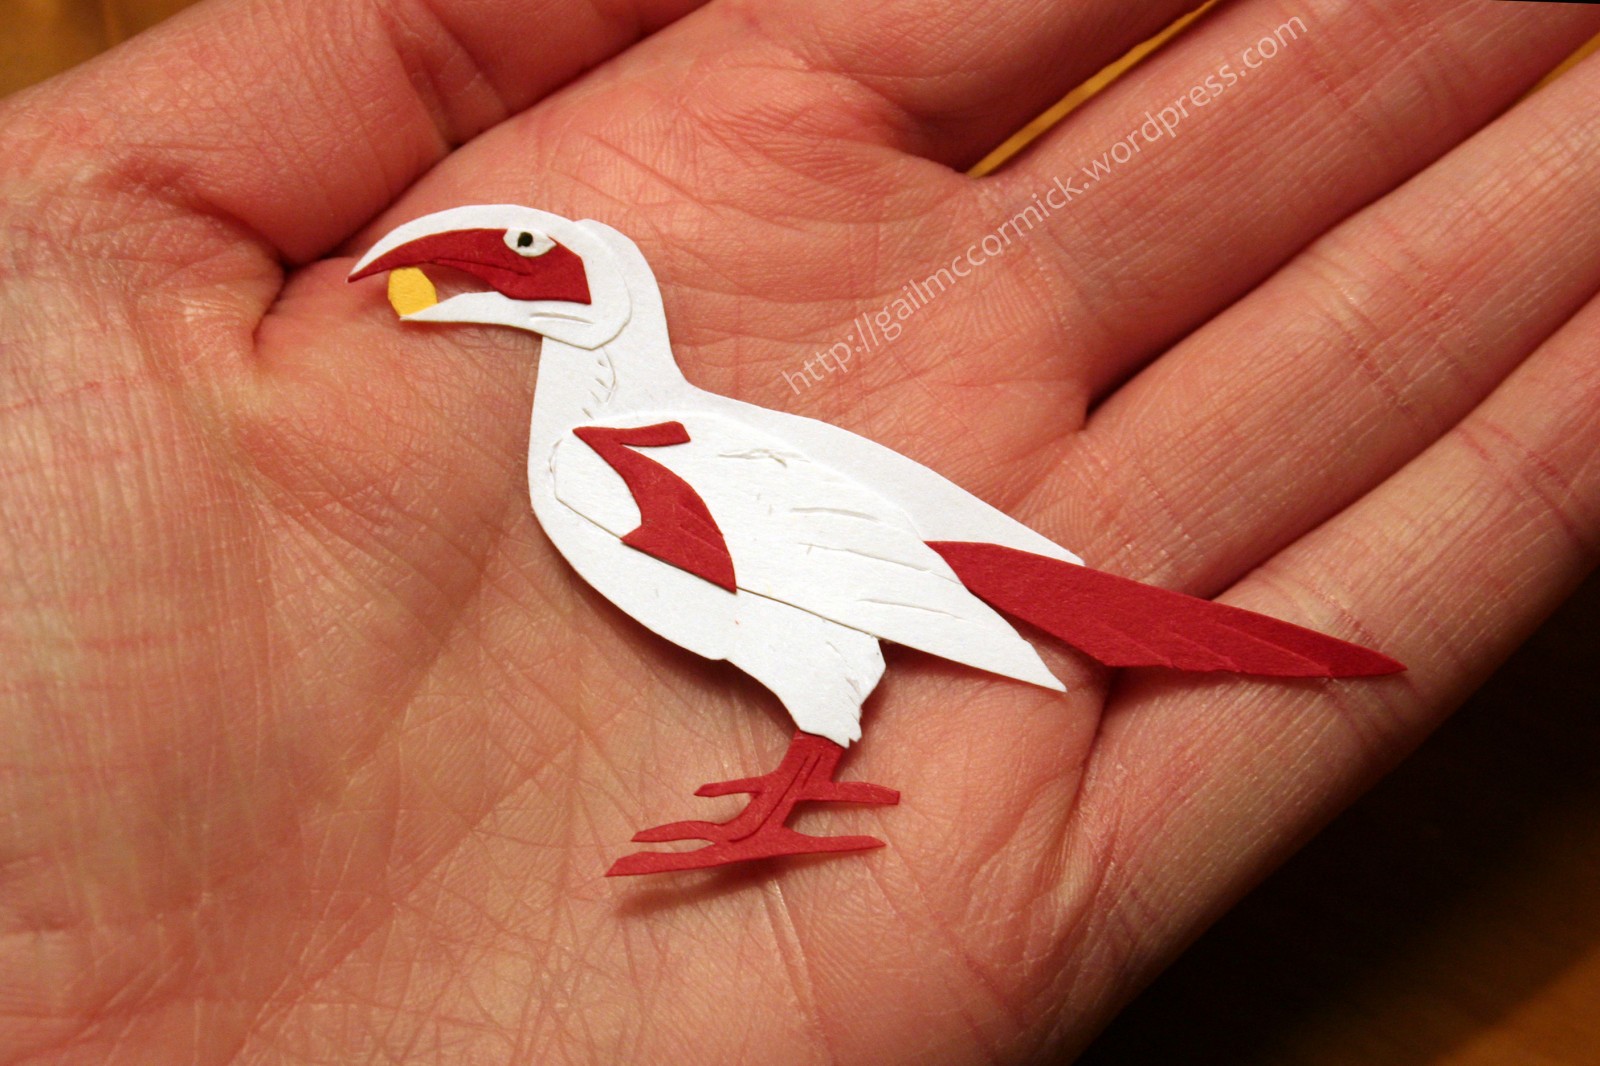
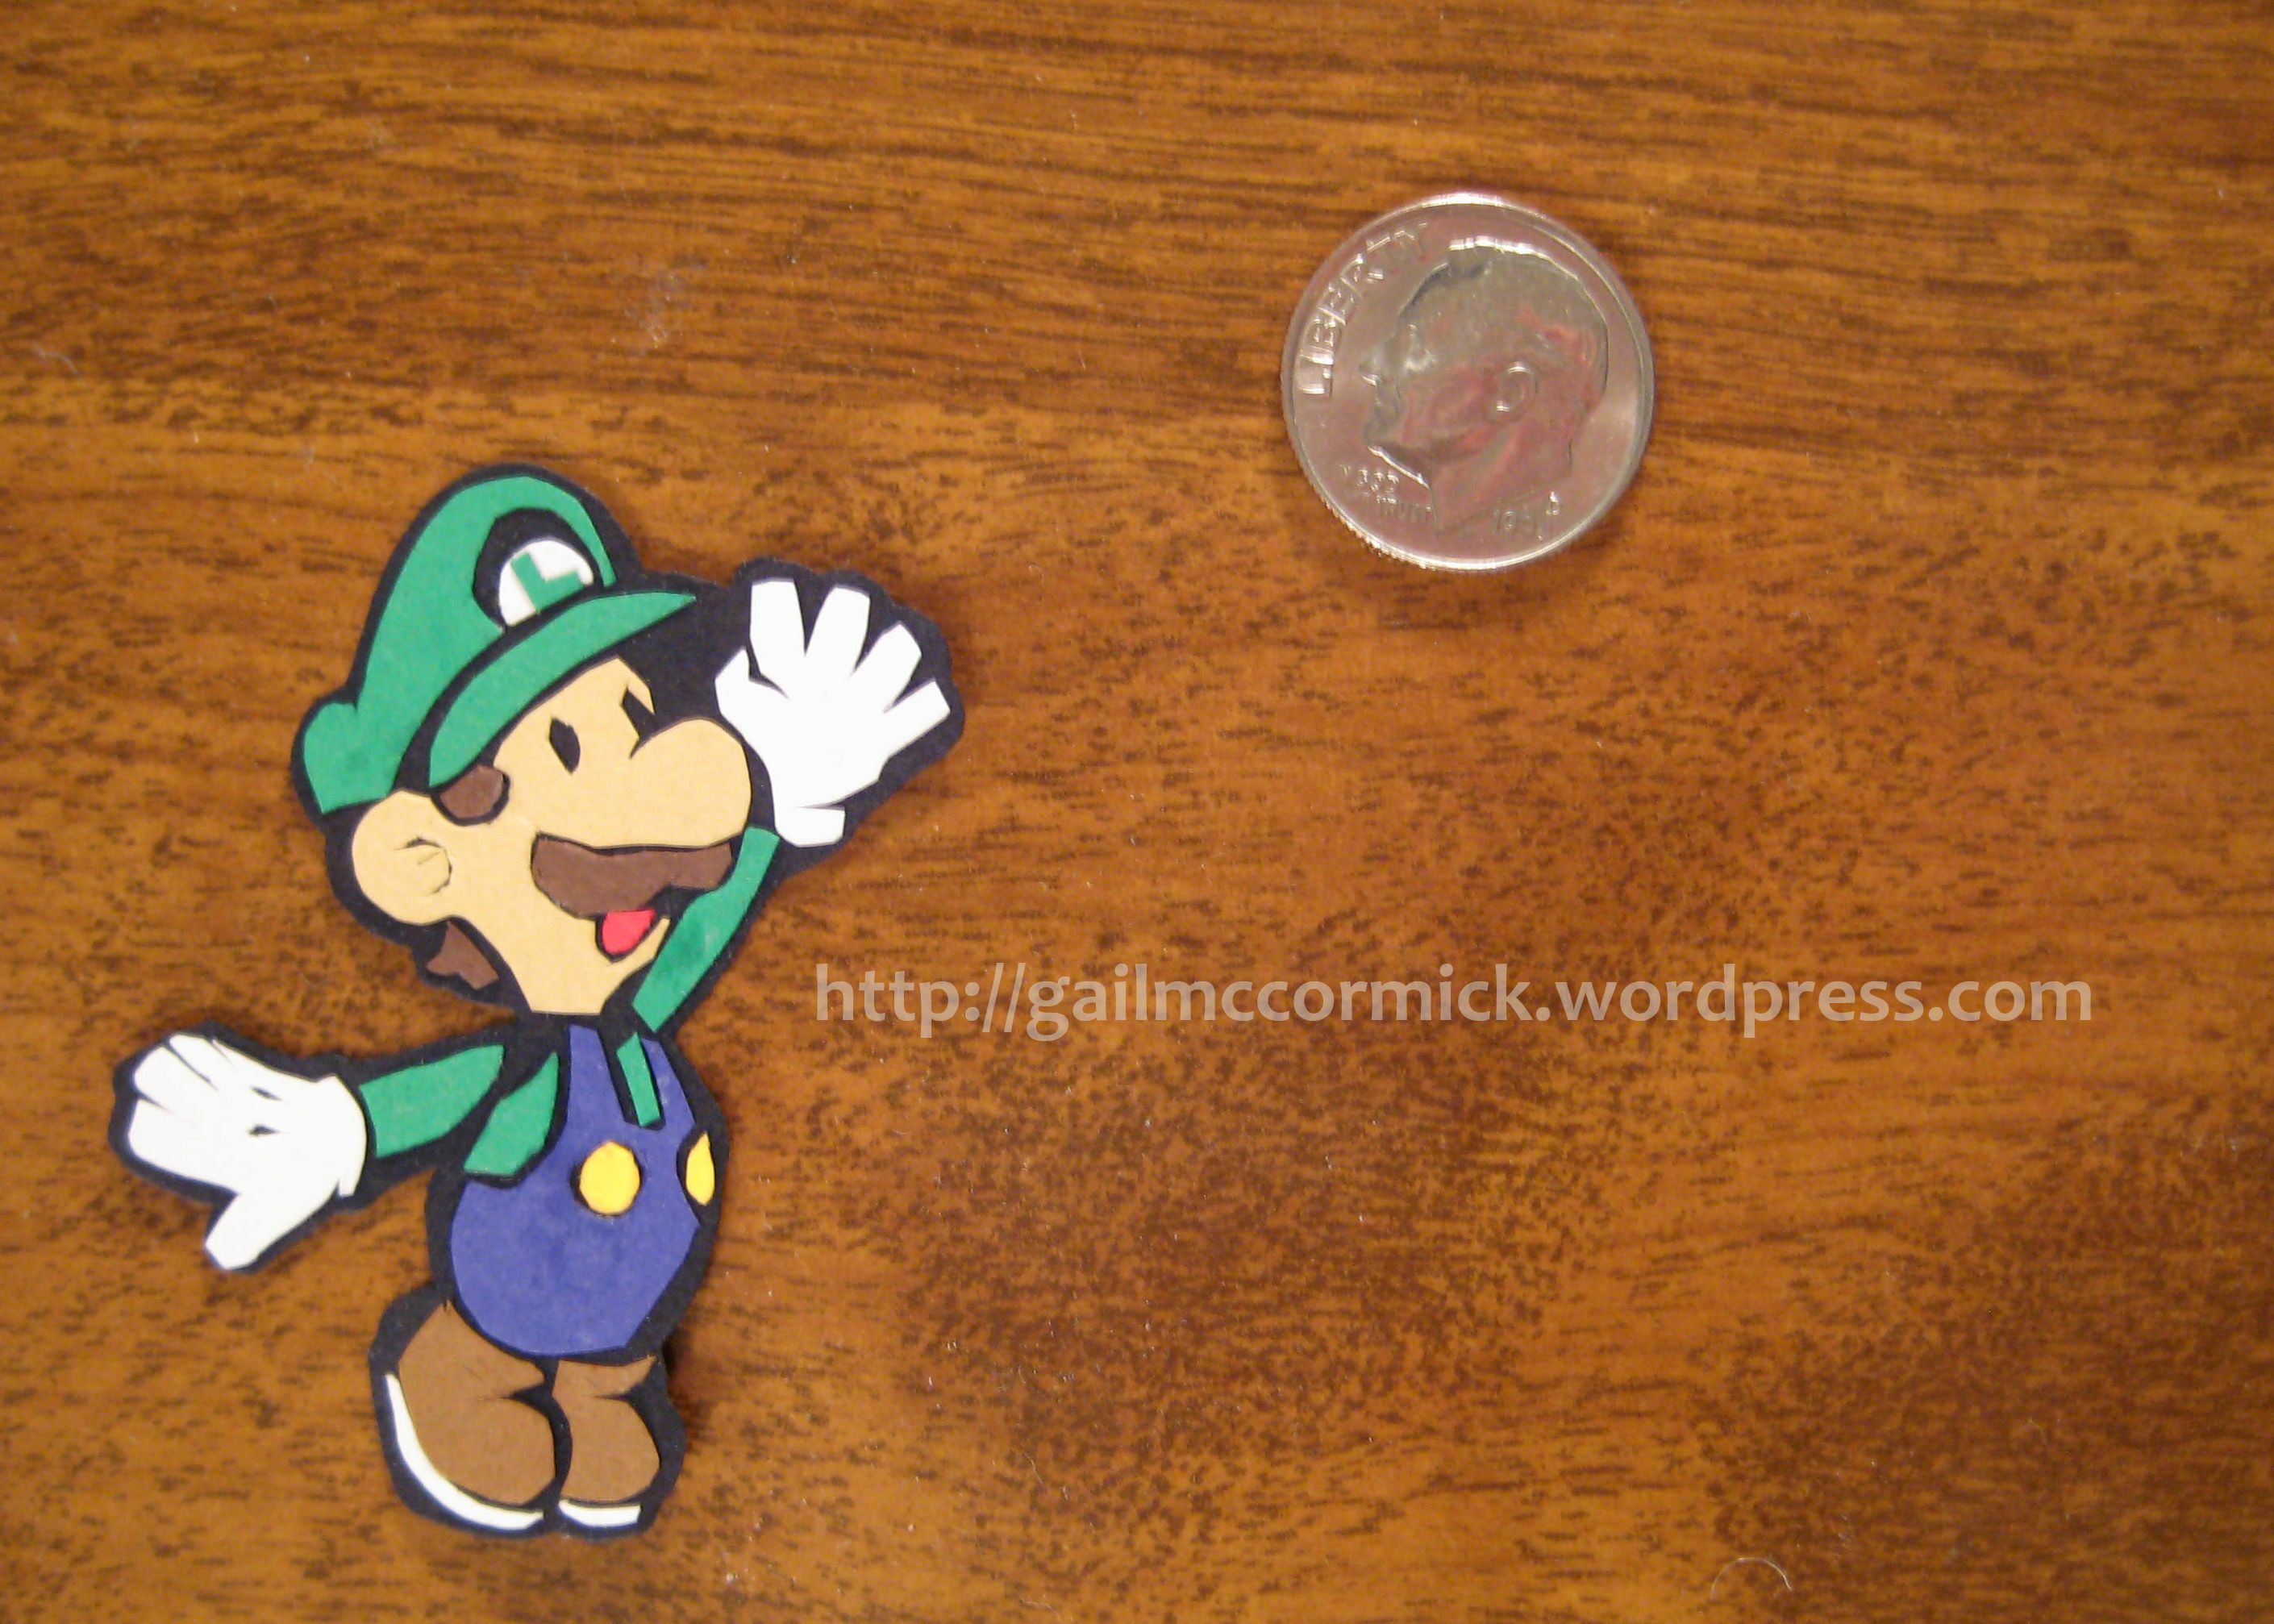
Fan Art
Can’t say no to fan art! For more examples of Gail’s work, visit the other gallery here.